Paper Flowers | Free printable template
I love to use paper to make things. I don't know about you, but whenever I receive a present that's wrapped in pretty paper I save the paper to use again - sometimes I use it to wrap another present, but usually I try to turn it into something new.
One of the things I've been learning to do lately is make paper flowers. I was looking for a way to make a gift look that little bit extra special...and adding a paper flower seemed perfect to me. That little personal touch - the extra present on top (literally!) of the present.
Paper flowers also make great decorations for weddings, hen parties, baby showers, parties, nurseries and more...the possibilities are endless. So, I thought I'd share the template I've developed with you, along with a quick how to.
Step-by-step guide
Step 1 | Gather your supplies
To make your flowers, you will need:

A printed copy of the paper flower template – you can download a copy here.
Paper – using paper that’s somewhere between 100 and 120gsm works best. Paper-Roses’ giftwrap is perfect at 100 to 104gsm. I used somewhere between 1/3 and 1/2 a sheet of pre-loved gift wrap for each flower I made.
A pencil.
A pair of scissors.
Paper glue.
A short piece of doweling – about 8mm in diameter. Don’t worry if you don’t have any – a pen or pencil will work just as well.
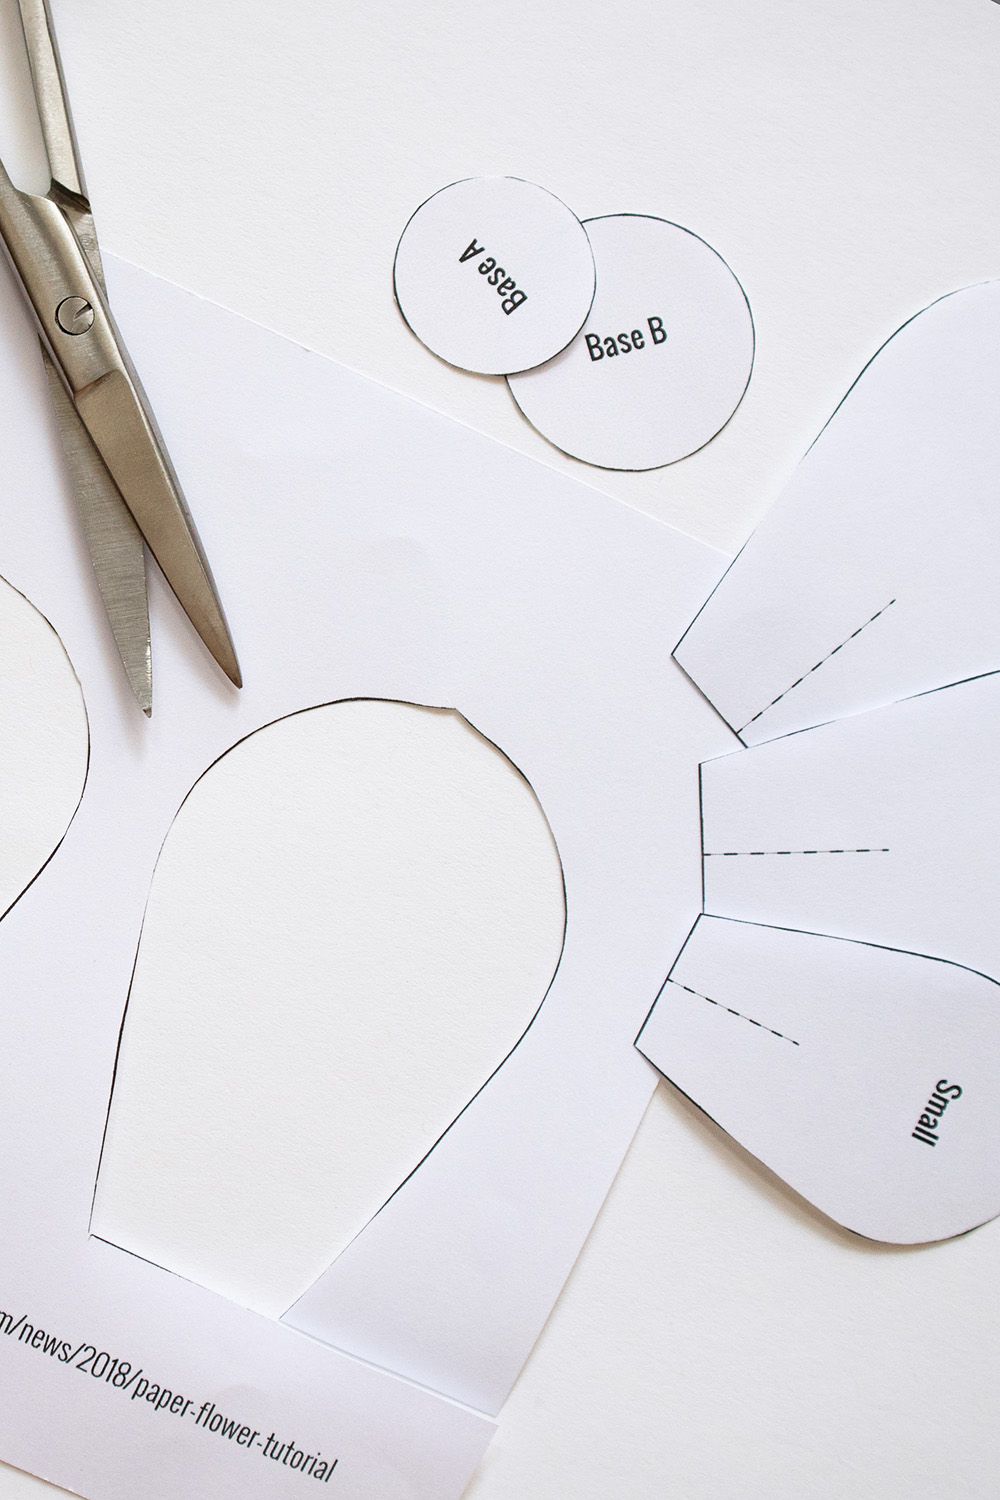
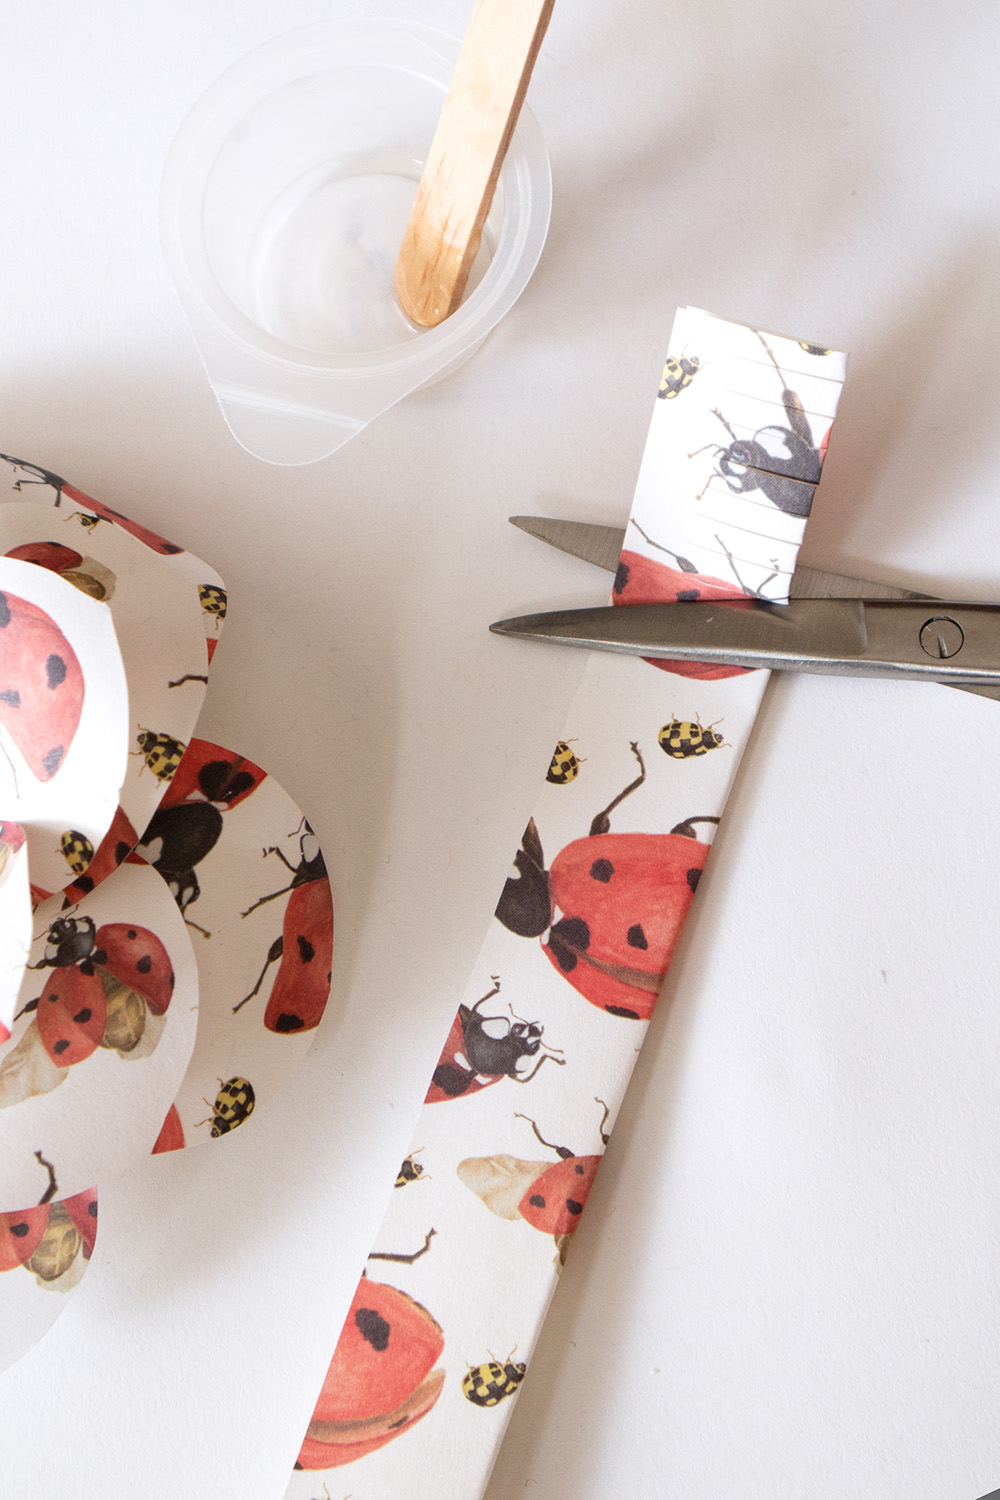
Step 2 | Cut out the pieces
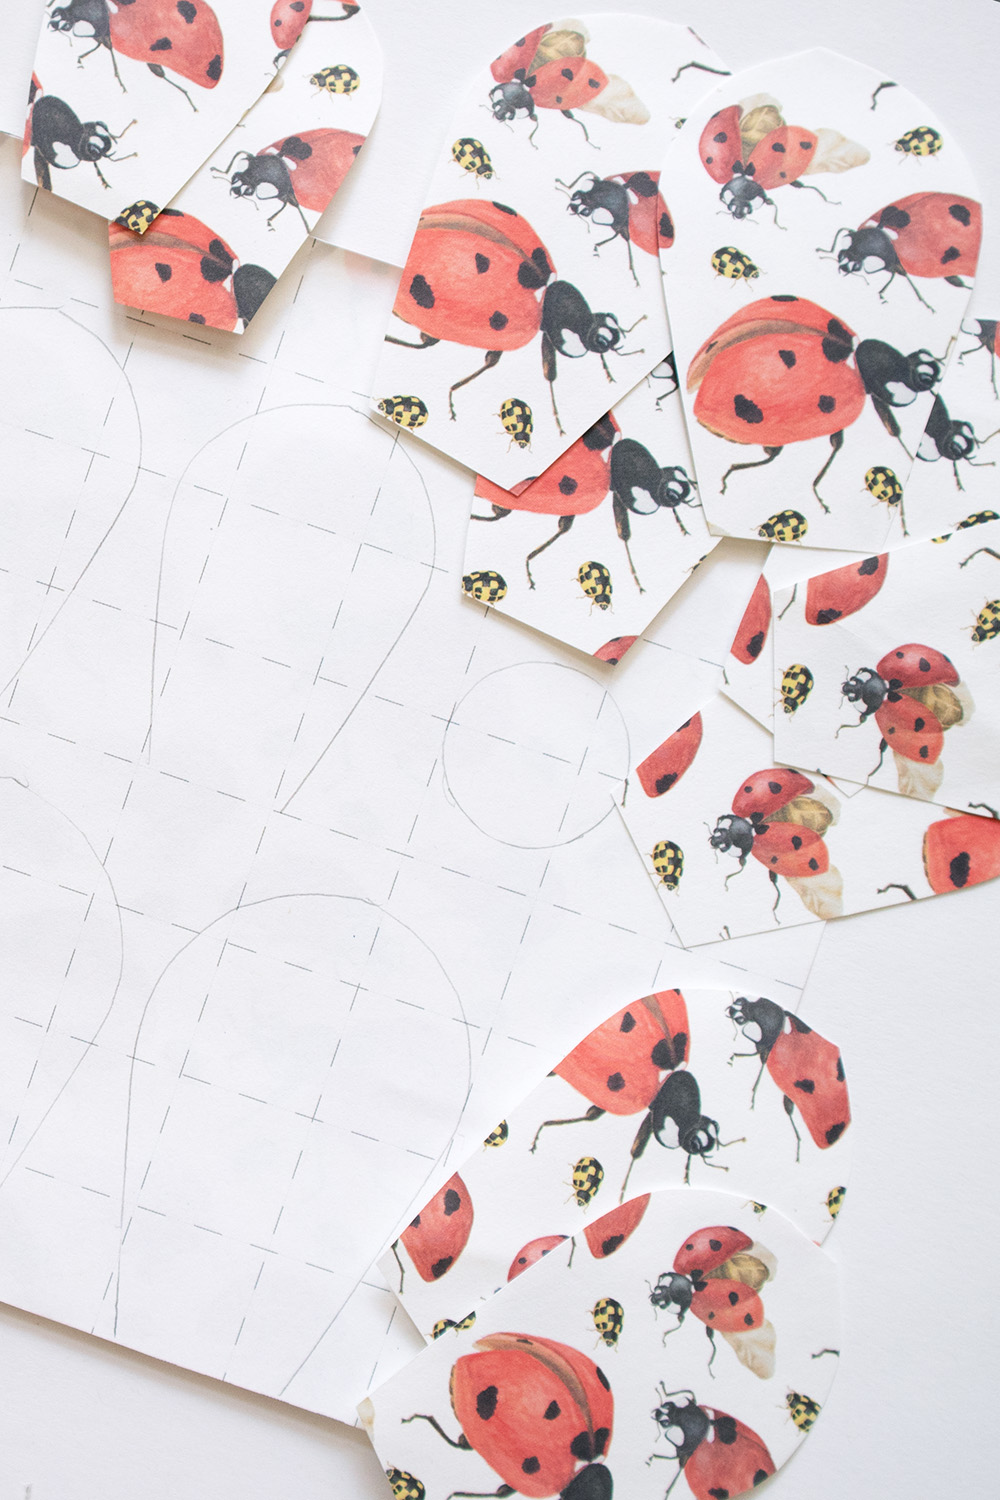
Once you’ve cut out the petals and base that you want to use from your template, trace the outline of 18 petals and one base onto the back of your paper – for this flower I’m using 12 medium sized petals and 6 small ones along with base A. When you do this, try to miss any tears, pieces of tape or folds that there might be in your paper.
Now, cut out all of your pieces. As well as the petals and base, you’ll need to cut a long strip of paper to make the middle of the flower. For this flower I’ve cut a piece that’s 4cm wide by 30cm long
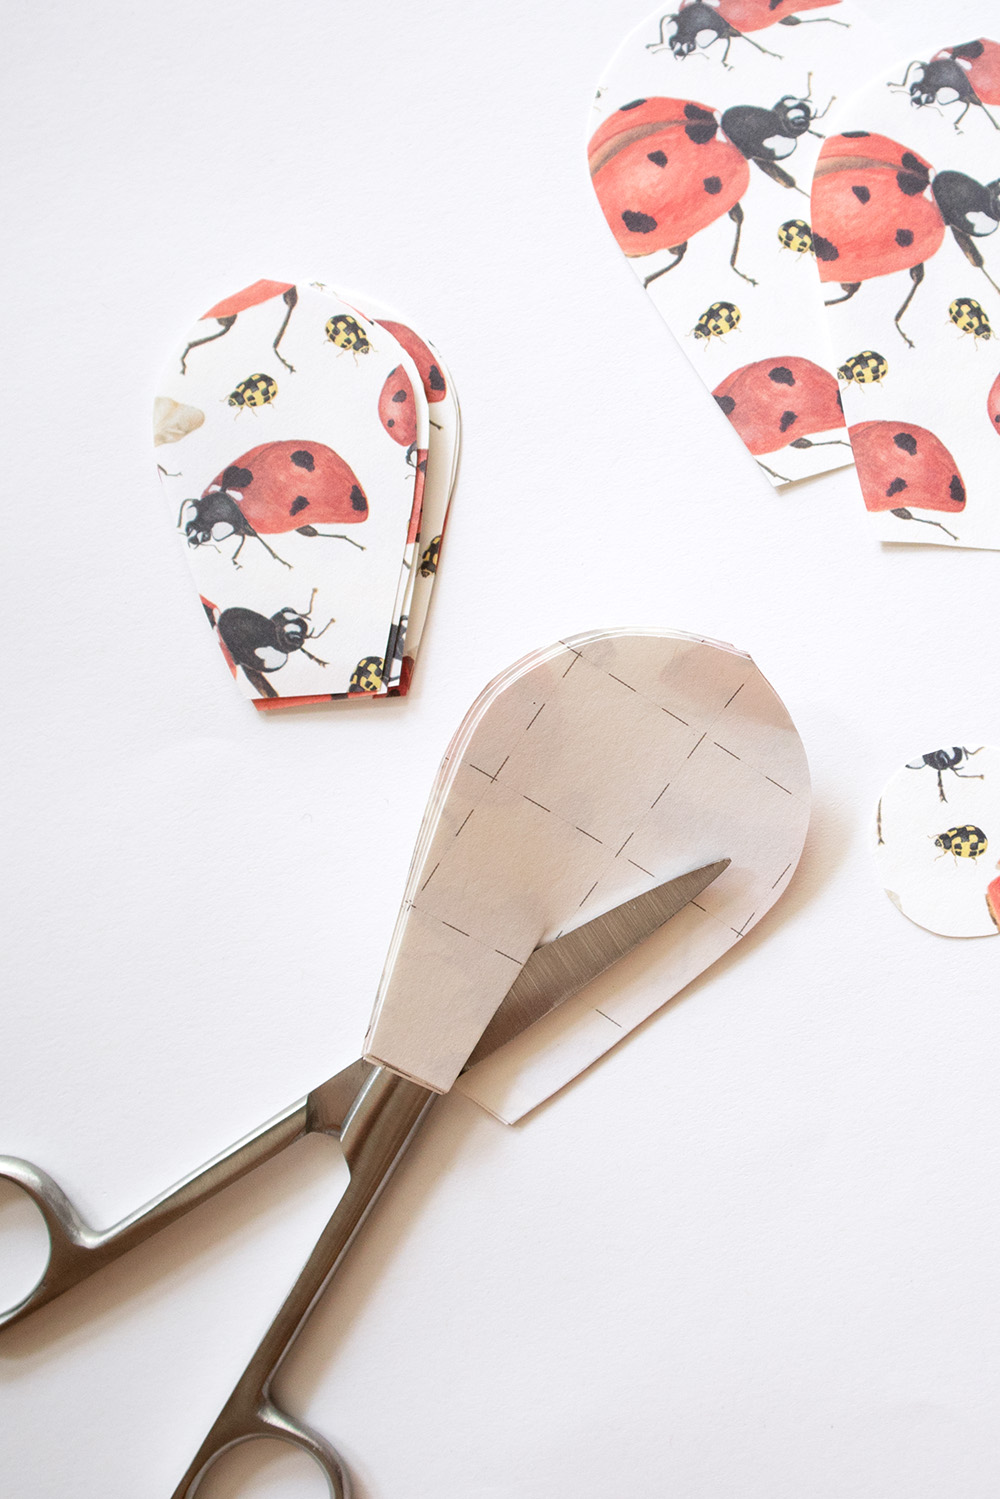
Step 3 | Shape the petals
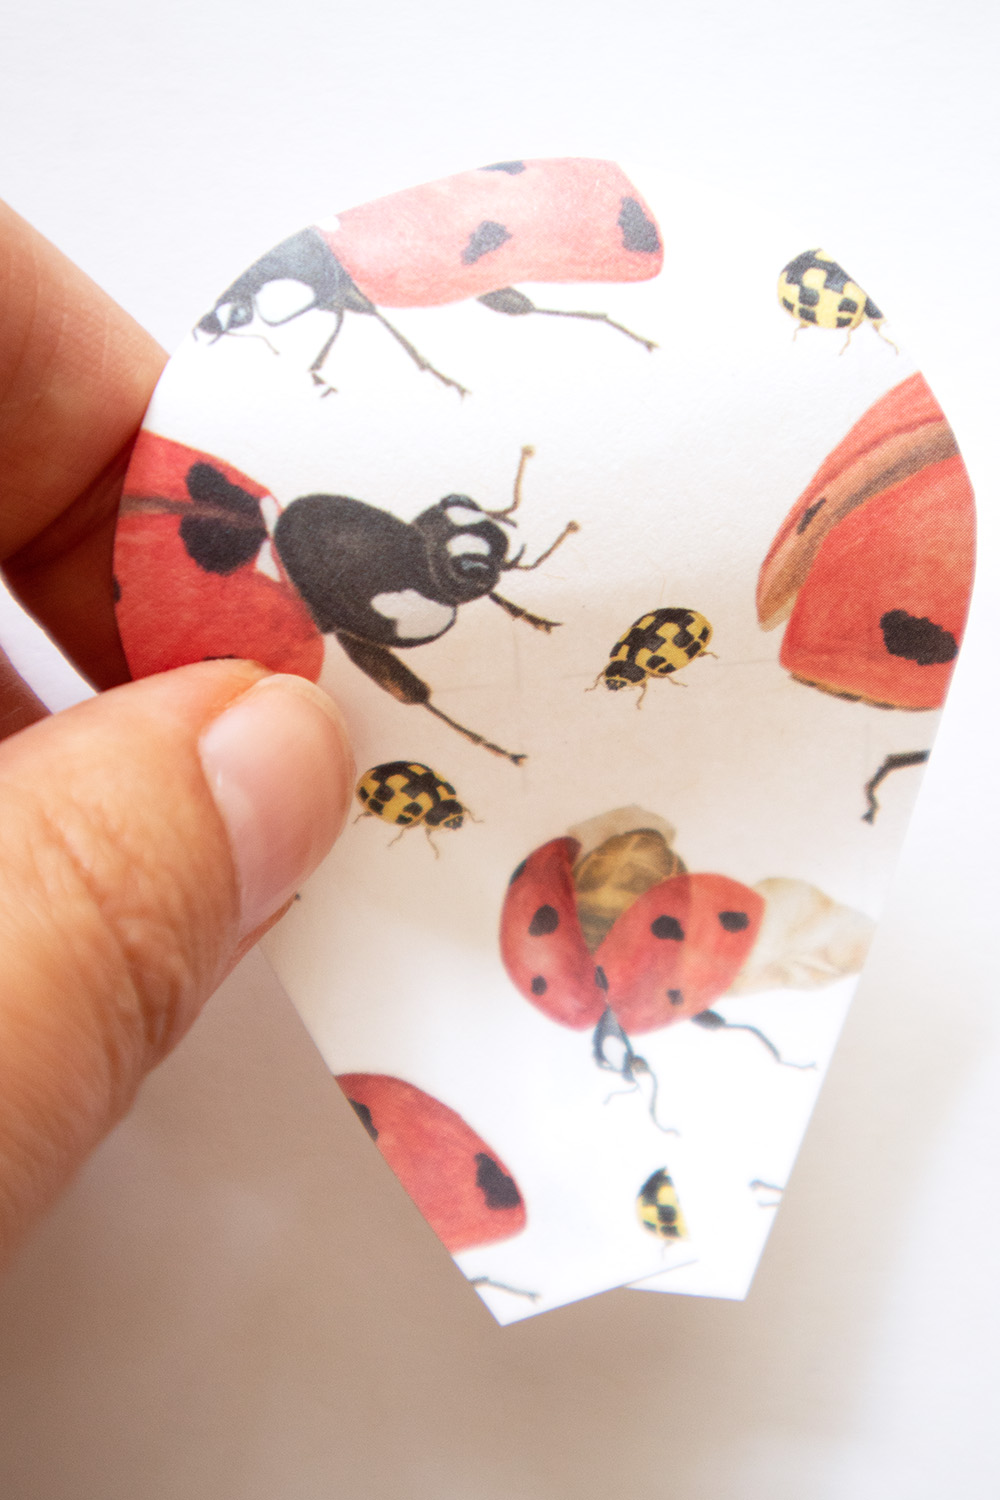
Put all of your petals into neat stacks of 6, making sure that all of the petals in each stack are the same size. Cut a slit into the bottom (flat edge) of each petal – you’ll see there’s a guideline on the template, but you don’t need to be too accurate – and then roll the petals around the piece of doweling to curl them. Start rolling from the top of the petal and roll all the way to the bottom, holding for a minute or so to make sure you get a good curl.
Add some dimension to your petals – this is where the slit comes in. Put a little bit of glue to the right of the slit, making sure you’re putting it on the front of the paper. Now bring the left side of the slit over the right and hold for a few seconds to make sure it sticks.

Step 4 | Make the flower
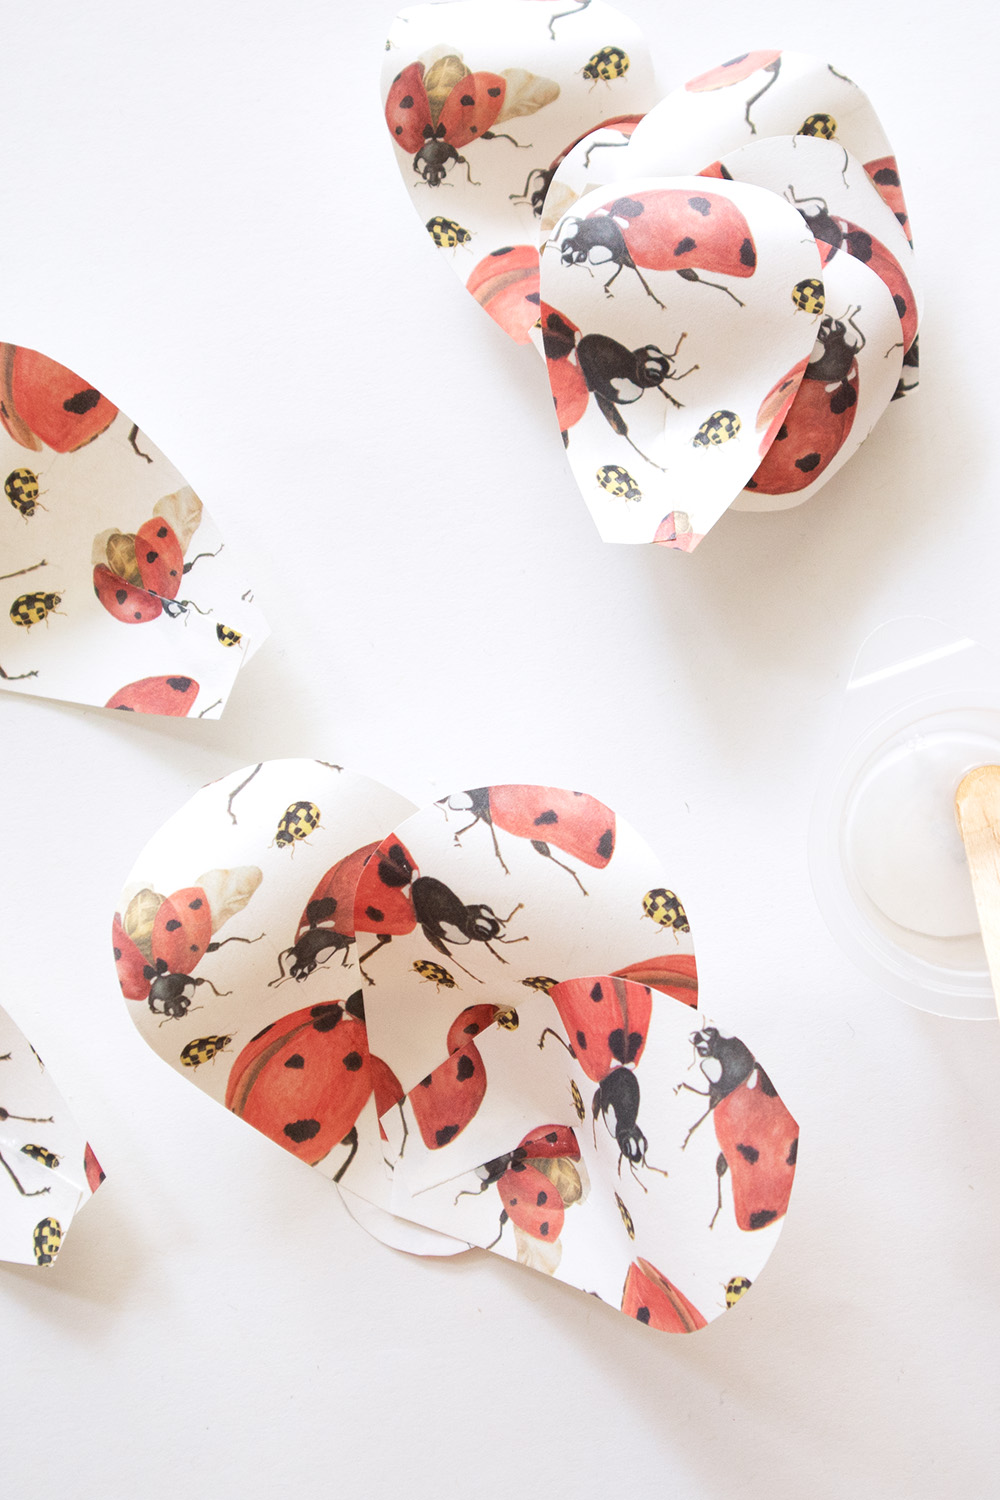

Now it’s time to start sticking your petals to the base. We’re making a flower that has 3 layers of petals, with the largest petals on the outside and the smallest ones towards the centre - so for this flower, I’m using the medium sized petals for the two outer layers and the small petals for the centre layer.
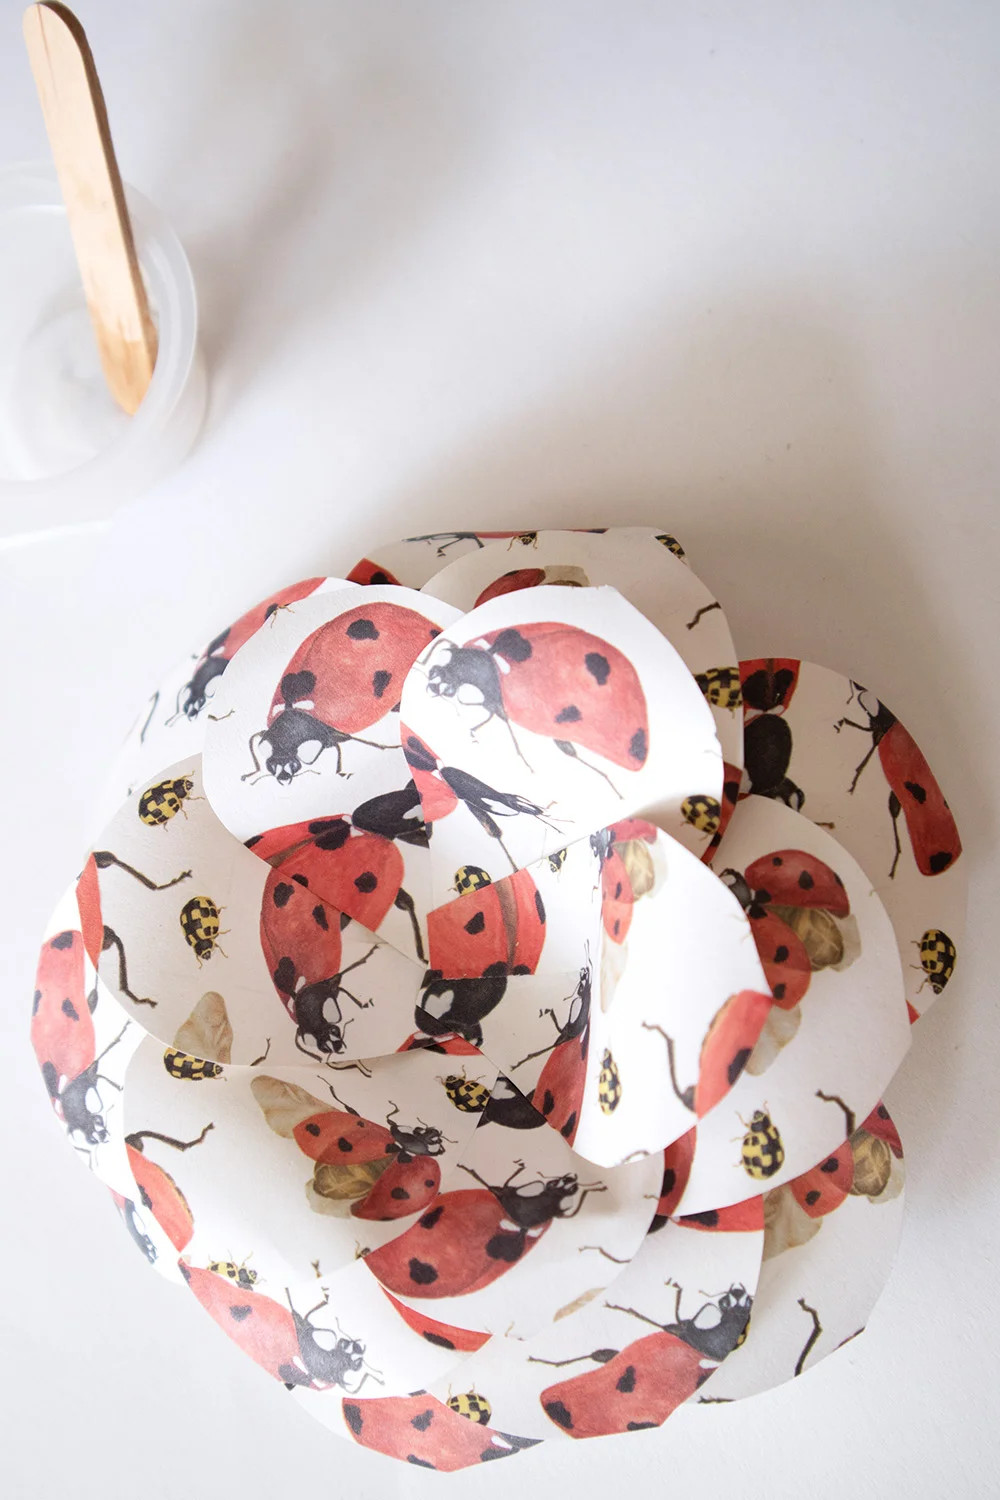
Starting with the outer layer, put a small amount of glue on the underside of each petal at the bottom and glue it to the base overlapping as you go so that the petals fit nicely. Carry on and add layers 2 and 3 in the same way.
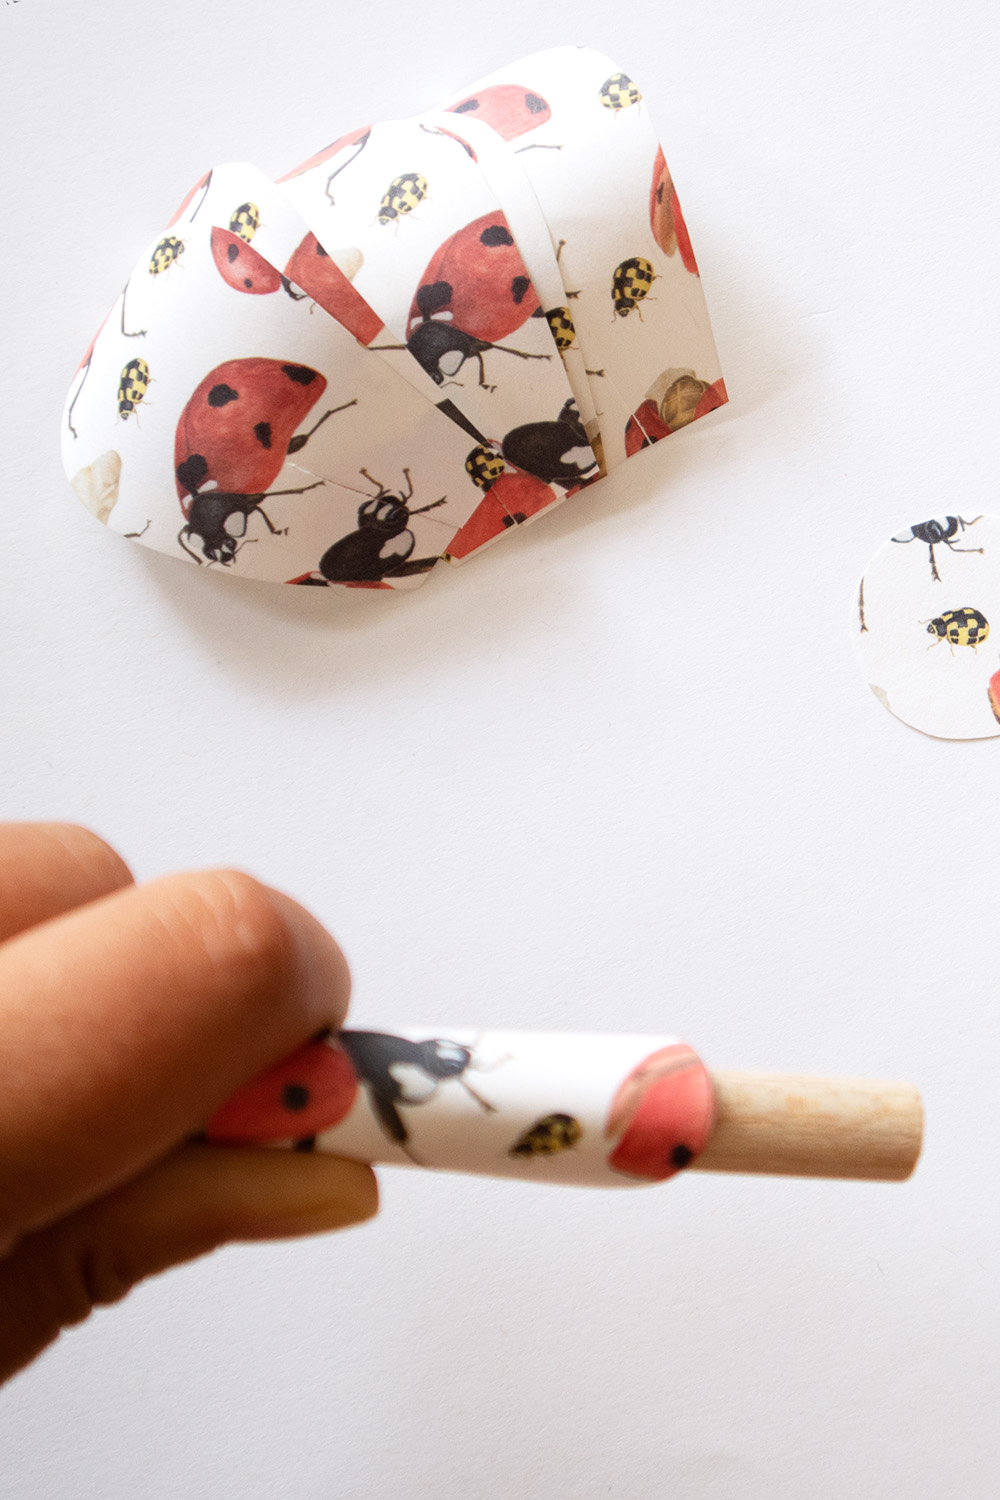
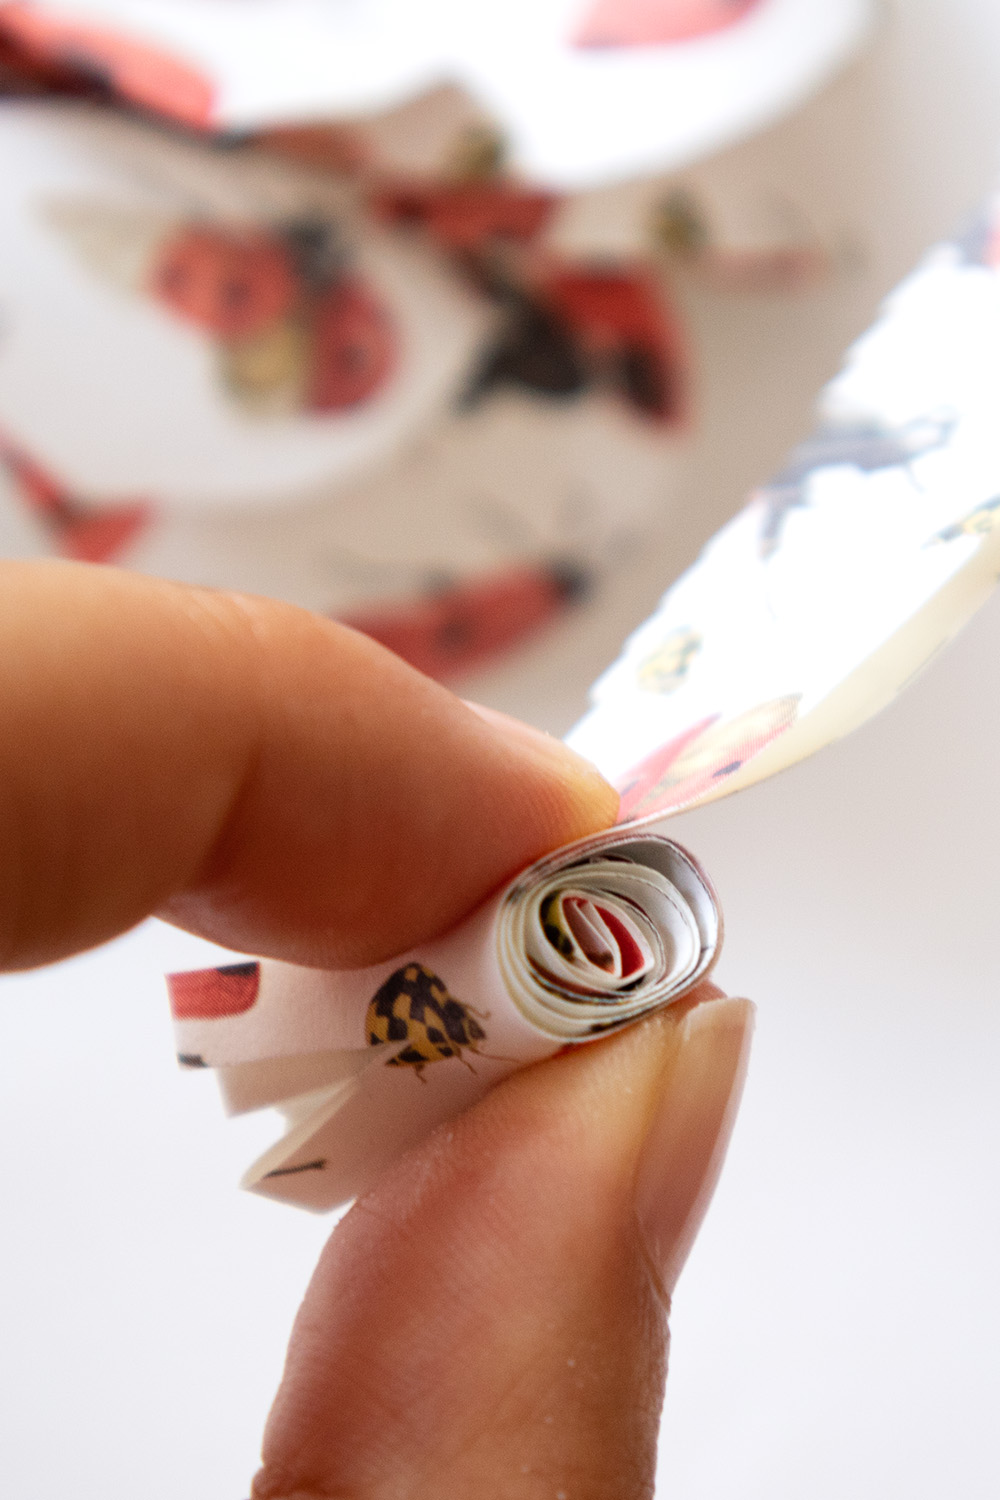
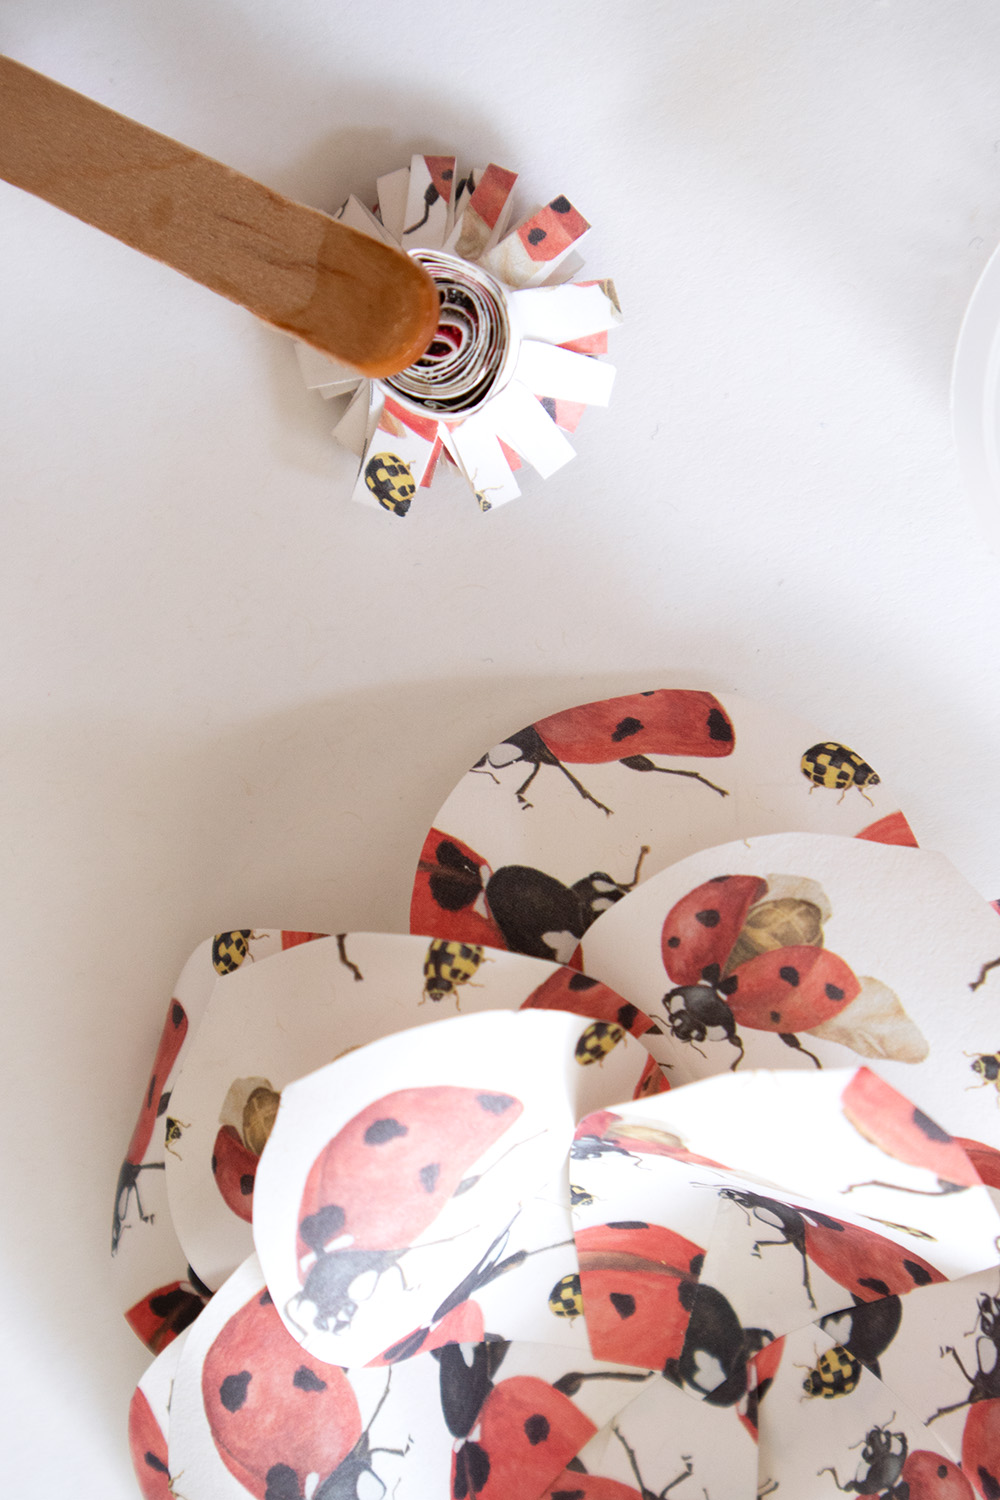
Almost finished – just the middle to add. Take the long strip of paper you cut and fold it in half lengthways. Turn it into a fringe by cutting lots of slits along the folded edge – each slit should be about 2/3 of the width of the folded strip, so in this case they’re about 1.5cm long. When you have slits all the way to the end, start rolling the strip to form a tight roll of paper. Apply a little bit of glue to hold the roll together before splaying out the fringed end of the roll. Put more glue on the bottom of the roll and place it in the centre of your flower – hold it there for a few seconds to make sure it sticks.

And you're done! A beautiful flower to use however you want.
A couple of extra bits
The template prints out onto a page of A5 paper so the flowers are relatively small around 10 to 12.5cm in diameter once complete – perfect as present toppers. If you want to make bigger flowers you can easily scale the page in your print settings to print on A4. Remember that you’ll need to make the middle of the flower bigger (using a piece of paper that’s both longer and wider) too.
And if you want some of your flowers to have different shaped petals, feel free to get creative with the template. Use it to as a base for rounded, pointy, tooth shaped or heart shaped petals to name but a few. Go for your lives – try out any shapes you like!
I'd love to know how your flowers turn out. Let me know in the comments.